Difference between revisions of "Pistorm32-Lite"
| Line 14: | Line 14: | ||
{| | {| | ||
|- | |- | ||
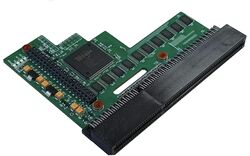
| − | |[[File:pistorm32-lite_install_01.jpg|thumb|Pistorm32-Lite Bare/Pre-Installation]] | + | |[[File:pistorm32-lite_install_01.jpg|thumb|Step 1: Pistorm32-Lite Bare/Pre-Installation]] |
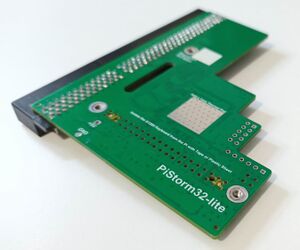
| − | |[[File:pistorm32-lite_install_02.jpg|thumb|Thermal pad added to heatsink]] | + | |[[File:pistorm32-lite_install_02.jpg|thumb|Step 2: Thermal pad added to heatsink]] |
|- | |- | ||
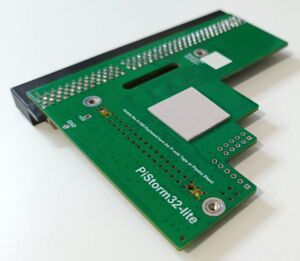
| − | |[[File:pistorm32-lite_install_03.jpg|thumb|Three plastic standoffs added]] | + | |[[File:pistorm32-lite_install_03.jpg|thumb|Step 3: Three plastic standoffs added]] |
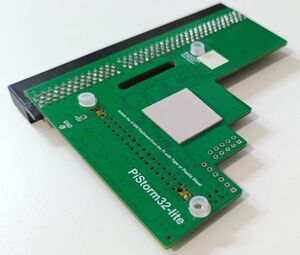
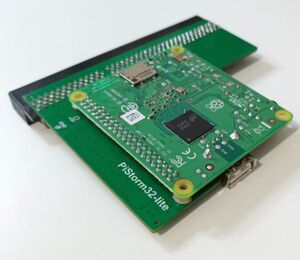
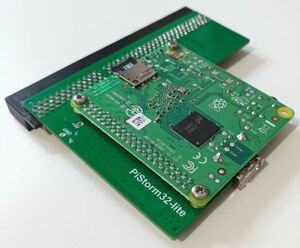
| − | |[[File:pistorm32-lite_install_04.jpg|thumb|Raspberry Pi mounted onto standoffs]] | + | |[[File:pistorm32-lite_install_04.jpg|thumb|Step 4: Raspberry Pi mounted onto standoffs]] |
|- | |- | ||
| − | |[[File:pistorm32-lite_install_7.jpg|thumb|Bolts securing Pi to PiStorm32-Lite]] | + | |[[File:pistorm32-lite_install_7.jpg|thumb|Step 5: Bolts securing Pi to PiStorm32-Lite]] |
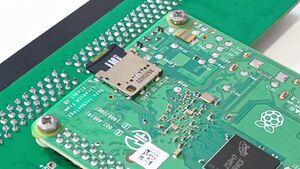
| − | |[[File:pistorm32-lite_install_08.jpg|thumb|MicroSD card inserted for software setup]] | + | |[[File:pistorm32-lite_install_08.jpg|thumb|Step 6: MicroSD card inserted for software setup]] |
|} | |} | ||
</center> | </center> | ||
Revision as of 10:24, 3 February 2023
Introduction
This accelerator speeds up your Commodore Amiga 1200 computer by leveraging the Raspberry Pi's computational power. The Raspberry Pi plugs into the PiStorm and emulates the native 680x0 CPU at much higher performance than the original CPU.
Hardware Installation
Raspberry Pi Installation
Amiga 1200 Installation
1 Power down the Amiga and monitor. Unplug all cables from the Amiga.
2 Anti-statically discharge yourself before handling the device. It is recommended to use an E.S.D. wrist strap for the installation process (such as Amiga Kit product code TLSASW001).
3 Turn over the Amiga and remove the plastic trap door cover by using a small coin/flat blade screw driver to gently lever open the plastic latch.
4 Align the memory expansion's 150-pin expansion connector with the gold contacts on the motherboard and push it on until fully in place. Do not push the expansion onto the motherboard's gold contact at an angle as this could bend or damage the pins in the connector. If the metal upper RF shielding is obstructing the installation of the card, then it may need to be gently bent upwards. It can also be loosened by opening the computer and loosing the securing screw.
5 Replace trap door cover, turn over, connect all cables and power on.
Features
Where to buy
This product can be purchased at Amiga Stores
